Bootstrap Radio Button
Overview
Sometimes the tiny features occur to be actually the very most crucial since the full pic is certainly a whole consisting of many tiny elements polished and stacked for you to look and present just as a well-oiled shiny machine. These types of straight phrases might probably sound a little too much once it comes to create controls however in the case that you just consider about it for a little there is simply just a single component allowing the website visitor to pick up one amongst a couple available alternatives.So in the event you are actually possessing a couple of forms through this form of possibilities controls over your various websites does this mean they are going to all look identical? And most essentially-- would you settle for that?
Fortunately for us the most recent version of one of the most popular mobile phone friendly system - Bootstrap 4 appears fully stuffed having a brilliant new concept to the responsive attitude of the Bootstrap Radio Button controls and what exactly is bright new for this version-- the so called custom made form controls-- a combination of predefined looks you can certainly simply bring and use in order to provide the so wanted these days range in the visional presentations of quite uninteresting form elements. In this way let's take a look how the radio buttons are planned to be specified and designated in Bootstrap 4. ( get more information)
The way to make use of the Bootstrap radio button:
In order to create a radio switch we initially really need a
<div>.form-check.form-check-inline.radio.radio-inline.disabledWithin the
.form-check<label>.form-check-label<input>.form-check-inputtype = “radio”name = “ ~ same name for all the options ~ ”id = “ ~ unique ID ~ “value=” ~some value here ~ ”disabled<input>This is in addition the location to define in case you desire the radio control to initially load like checked when the web page gets loaded. Assuming that this is what you are actually after-- as opposed to
disabledchecked<input>checkedCheckbox and also Bootstrap Radio Set good examples
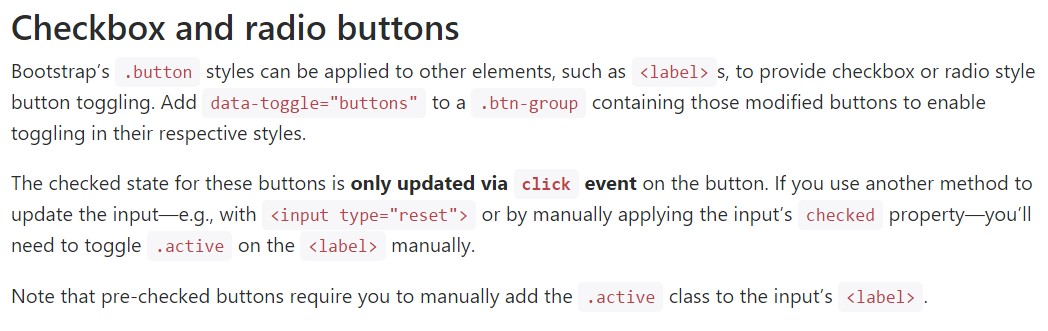
The reviewed state for such buttons is only improved through click event on the button. If you use one more procedure to improve the input-- e.g., with
<input type="reset">.active<label>Keep in mind that pre-checked buttons demand you to manually put in the
.active<label>Checkbox

<div class="btn-group" data-toggle="buttons">
  <label class="btn btn-primary active">
    <input type="checkbox" checked autocomplete="off"> Checkbox 1 (pre-checked)
  </label>
  <label class="btn btn-primary">
    <input type="checkbox" autocomplete="off"> Checkbox 2
  </label>
  <label class="btn btn-primary">
    <input type="checkbox" autocomplete="off"> Checkbox 3
  </label>
</div>
Radio

<div class="btn-group" data-toggle="buttons">
  <label class="btn btn-primary active">
    <input type="radio" name="options" id="option1" autocomplete="off" checked> Radio 1 (preselected)
  </label>
  <label class="btn btn-primary">
    <input type="radio" name="options" id="option2" autocomplete="off"> Radio 2
  </label>
  <label class="btn btn-primary">
    <input type="radio" name="options" id="option3" autocomplete="off"> Radio 3
  </label>
</div>
Radio button feature
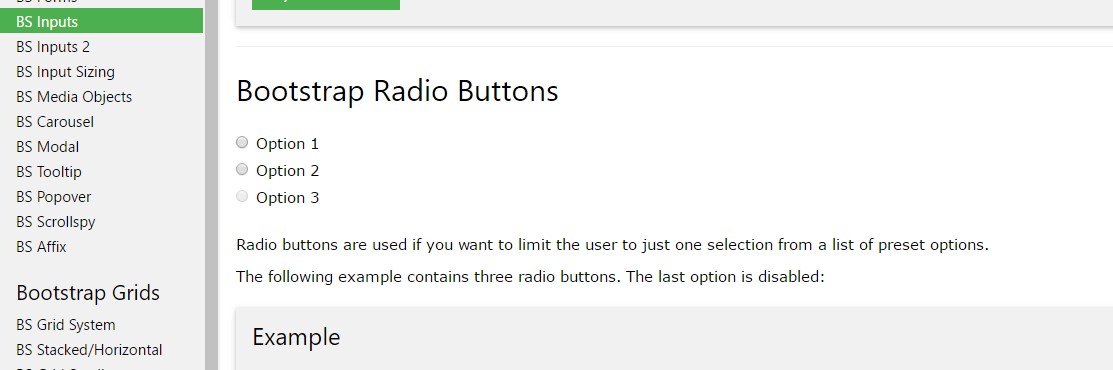
When we want the user to go for a single of a series of methods, we can probably put into action input elements of the radio style. ( learn more)
As soon as there is much more than one element of this one style by using the identical value within the name attribute, just one have the ability to be selected.

<div class="row">
  <div class="col-lg-6">
    <div class="input-group">
      <span class="input-group-addon">
        <input type="checkbox" aria-label="Checkbox for following text input">
      </span>
      <input type="text" class="form-control" aria-label="Text input with checkbox">
    </div>
  </div>
  <div class="col-lg-6">
    <div class="input-group">
      <span class="input-group-addon">
        <input type="radio" aria-label="Radio button for following text input">
      </span>
      <input type="text" class="form-control" aria-label="Text input with radio button">
    </div>
  </div>
</div>
Final thoughts
Primarily this is the way the default radio switches get specified and perform throughout within Bootstrap 4-- right now everything you really need are some options for the visitors to pick from.
Review a number of video tutorials regarding Bootstrap Radio Button:
Related topics:
Bootstrap buttons official records
Bootstrap Radio button - guide
Checkbox radio buttons break entire toolbar styling
